Crafting System#
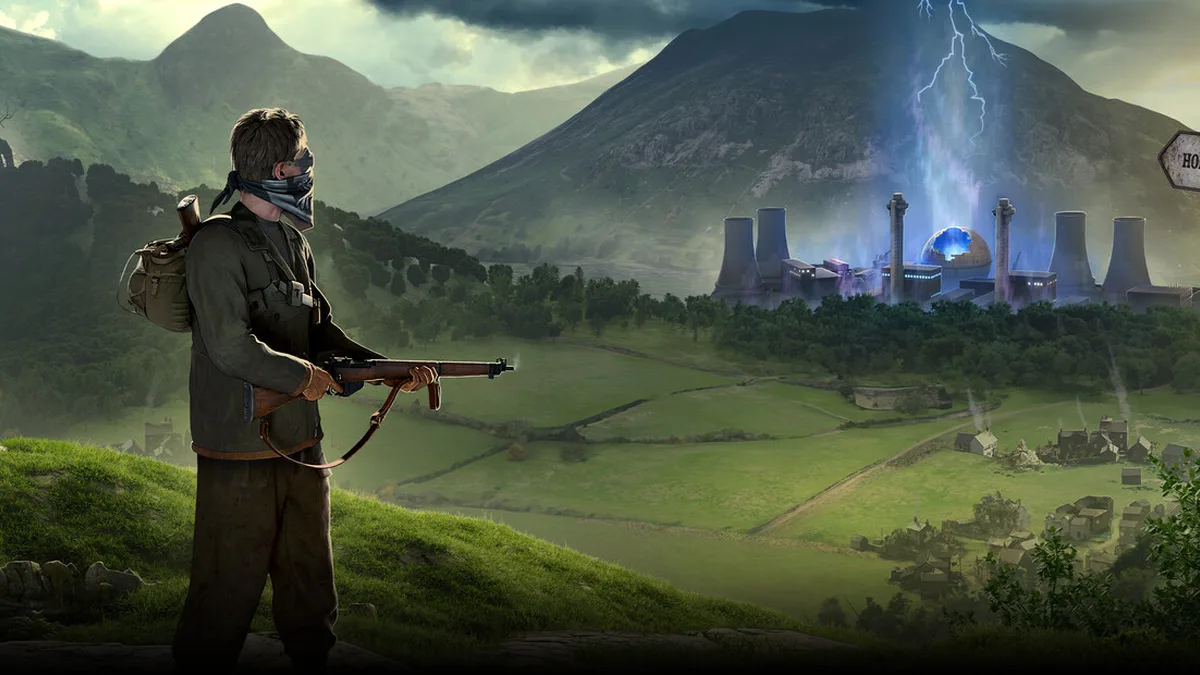
Atomfall takes a “fewer but better” approach to crafting: it has none of the traditional survival-game upgrade loop of stripping weapons down, bolting on attachments and stacking percentage stats. Instead, crafting is split into three independent activities — making consumables from recipes, repairing melee weapons with Toolkits, and merging two of the same firearm to raise its quality. Once you understand those three as separate things, you will never stockpile materials you will never use, and you will not fool yourself into thinking the battered gun in your hands can be “modded” back to life.
Clearing up a common misconception first#
A lot of material floating around mentions percentage-based upgrade affixes such as “serrated blade increases cutting damage” or “tactical grip increases attack speed”. To be clear: this game has no percentage-based modification system at all. Melee weapon performance is not improved by adding attachments, and firearm performance is expressed through quality (condition state). Any claim that a modification raises damage by a given percentage is not an official mechanic of this game. Everything below describes only the three crafting paths that actually exist in the game; all specific costs and numbers follow the live display in the in-game recipe menu and weapon panel, and may change with version updates.
Crafting system overview#
| Pillar | Problem it solves | Core item / skill | Notes |
|---|---|---|---|
| Recipe crafting | Consumable supply: healing, throwables, poisons | Pick up recipe schematics + crafting bench | Learning ten recipes is a key achievement milestone |
| Toolkit repair | Melee weapons growing duller with use | Toolkit | Consumable; one use restores a portion of durability |
| Quality merging | Firearm performance ceiling | Gunsmith skill + two identical guns | Merging twice takes a gun up to Pristine |
The three paths do not depend on each other: you can get through the whole game with a patched-up melee weapon without learning a single recipe, and you can rely entirely on found guns without ever touching the Gunsmith skill. Just invest in whichever direction fits your build.
Recipe crafting#
How recipes are learned#
Recipes in this game are not starting skills, they are collectibles scattered around the quarantine zone. Looting houses, outposts and shelters turns up recipe schematics one at a time; picking one up permanently unlocks the corresponding recipe, after which you can craft it at a crafting bench. Schematics tend to be hidden in main-story outposts, side locations and out-of-the-way drawers — the more thoroughly you explore, the more recipes you have available.
Reaching 10 learned recipes unlocks the achievement (Homemade). For achievement hunters this one is mandatory; for everyone else it is a decent exploration indicator too — gathering ten recipes usually means you have already turned over the indoor locations of several maps fairly thoroughly.
Types of craftable items#
The overwhelming majority of recipe output is consumables; there is almost nothing that produces equipment you can hold onto long term. Typical categories are as follows:
| Item type | Role | Use case |
|---|---|---|
| Bandages | Stop bleeding, restore health | Standard recovery after a firefight |
| Molotov-type throwables | Area fire damage | Dealing with clustered enemies, blocking a path |
| Poisons | Apply poison to a weapon or an enemy | Stealth builds weakening high-threat targets |
| Other utility consumables | Support effects such as detection and lighting | Topped up as the situation demands |
The table above lists types and roles only, not fixed entries — what you can actually make depends on which recipe schematics you have found, and everything is governed by the unlocked entries in the crafting menu.
Crafting process#
- Find a crafting bench in a safe house or outpost (usually at a fixed indoor spot — make a note of where it is as soon as you enter a shelter).
- Open the crafting menu and browse your unlocked recipes; locked entries will tell you that the recipe is missing.
- Confirm you have the required materials — the type and quantity of materials each recipe consumes is shown in the interface.
- Confirm the craft and the finished item goes straight into your inventory.
Melee weapons and Toolkits#
Durability#
Melee weapons have a durability (condition) value: every swing eats into the weapon’s condition, and the worse the condition, the worse the weapon performs (the exact rate of decay follows the in-game numbers). That means a “trusty melee weapon” in this game is not a lifelong asset but a consumable that wears out — which is the part of the crafting system that most needs planning ahead.
Toolkit#
Repairing melee weapons does not use a bench and does not use material synthesis. It uses a dedicated consumable: the Toolkit. Using one Toolkit restores the durability condition of the weapon in your hands.
- The Toolkit is a standalone item: it cannot be broken down for reuse, and it cannot be used to merge firearm quality.
- It comes mainly from looting and trading: toolboxes, the area around workbenches and outpost storage can all turn it up; whether traders stock it and how much they carry varies with their inventory, so go by the trade screen in front of you.
Rule of thumb: carry at least one Toolkit before entering any high-combat-intensity area. Repairing when durability bottoms out is far better than being caught empty-handed and forced to fight bare-fisted. Wear rates differ between weapons, so plan your repair rhythm around how it actually feels in play.
Firearm quality merging and the Gunsmith skill#
This section is the core of firearm progression: the game has no option to bolt scopes, magazines or the like onto a gun. There is exactly one upgrade path — merging duplicates to raise quality.
Quality tiers#
Found firearms come with different condition qualities; the two common target tiers are as follows:
| Quality | Meaning | Role |
|---|---|---|
| Stock | The level reached after one merge of the same model | A reliable everyday combat gun |
| Pristine | The level reached after merging once more | The best state that model can reach |
Quality represents the overall condition of the gun; the higher the quality, the better the weapon performs (the exact numerical difference follows the in-game weapon panel).
Merge process#
Prerequisite: learn the Gunsmith skill under the “Crafting” category of the skill tree. Without it, no amount of duplicate guns will let you merge.
| Step | Action | Notes |
|---|---|---|
| 1 | Learn the Gunsmith skill | Skill points are exchanged using training items collected while exploring, so plan where you spend them |
| 2 | Gather two identical guns | The model must match; different qualities can still be merged, and the exact combination rules are shown in game |
| 3 | Perform the merge at a crafting bench | Consumes two identical guns and returns one gun of higher quality |
| 4 | Merge again for Pristine | Two Stock guns of the same model merge into one Pristine gun |
Achievement (Make do and mend)#
The achievement (Make do and mend) simply asks you to raise a gun to Pristine quality. Combined with the process above, the route is very clear: learn Gunsmith first, then patiently stockpile two identical guns and merge them up to Stock, then gather two Stock duplicates and merge them into Pristine.
Practical reminders:
- When a duplicate gun shows up on a trader’s shelf or in a quest reward, even if you already own one, weigh up whether it is worth buying as “merge fodder”.
- Spare guns can also be bartered to traders (see the next section) instead of being merged; the two do not conflict. Prioritise based on whether you are short of guns or short of supplies right now.
Material acquisition#
This game has no currency system; the economy runs on barter, and materials move in and out through the three routes below. This is a qualitative description only — exact drop distribution and trader stock change with game progress and version.
| Route | Description | Qualitative advice |
|---|---|---|
| Looting | House drawers, outpost storage and fallen characters all yield materials and items; this is the basic supply of materials | Check drawers first when you enter a building, then sweep every container in sight on the way out; it adds up |
| Trading | Barter with traders at each outpost — spare weapons and unwanted loot can be swapped for what you need | Do not hoard: duplicate guns and consumables beyond what you can carry should go first, in exchange for toolkits or scarce materials |
| Metal detector | Use the detector to locate buried items out in the wild; the device gives feedback when you get close, and you dig at the indicated spot | Buried caches hold things you cannot get by looting; the detector itself is obtainable through exploration and trade, and scanning the map pays off once you have it |
The division of labour between the three can be summed up as: looting covers “everyday supply”, trading covers “targeted gaps”, and the metal detector covers “extra margin”. When resources are tight, prioritise bandage-type consumables and toolkits; top up throwables on the fly according to the kind of fight you are about to walk into.
Interaction with other systems#
- Crafted throwables and poisons tie directly into combat; stealth builds in particular lean on poison-type debuffs — see the “Combat System” page on this site.
- Gunsmith belongs to the crafting category of the skill tree; for how to plan your skill points, see the “Skill System” page.
- Recipe schematics are one type of collectible; for completionist exploration notes, see the “Secrets” page.
- For how to verify the (Homemade) and (Make do and mend) achievements, see the “Achievements” page.
Summary#
Three sentences are enough: consumables come from recipes, melee weapons rely on toolkits, firearms rely on merging duplicates. Percentage modifications and attachment slots do not exist in this game, so do not set aside any resources for them. The next time you are hesitating at a trader’s shelf, the test is simple too — does this let me make one more bandage, repair a weapon one more time, or complete a pair of merge fodder? If yes, trade for it; if no, put it down.