Growth and Resources#
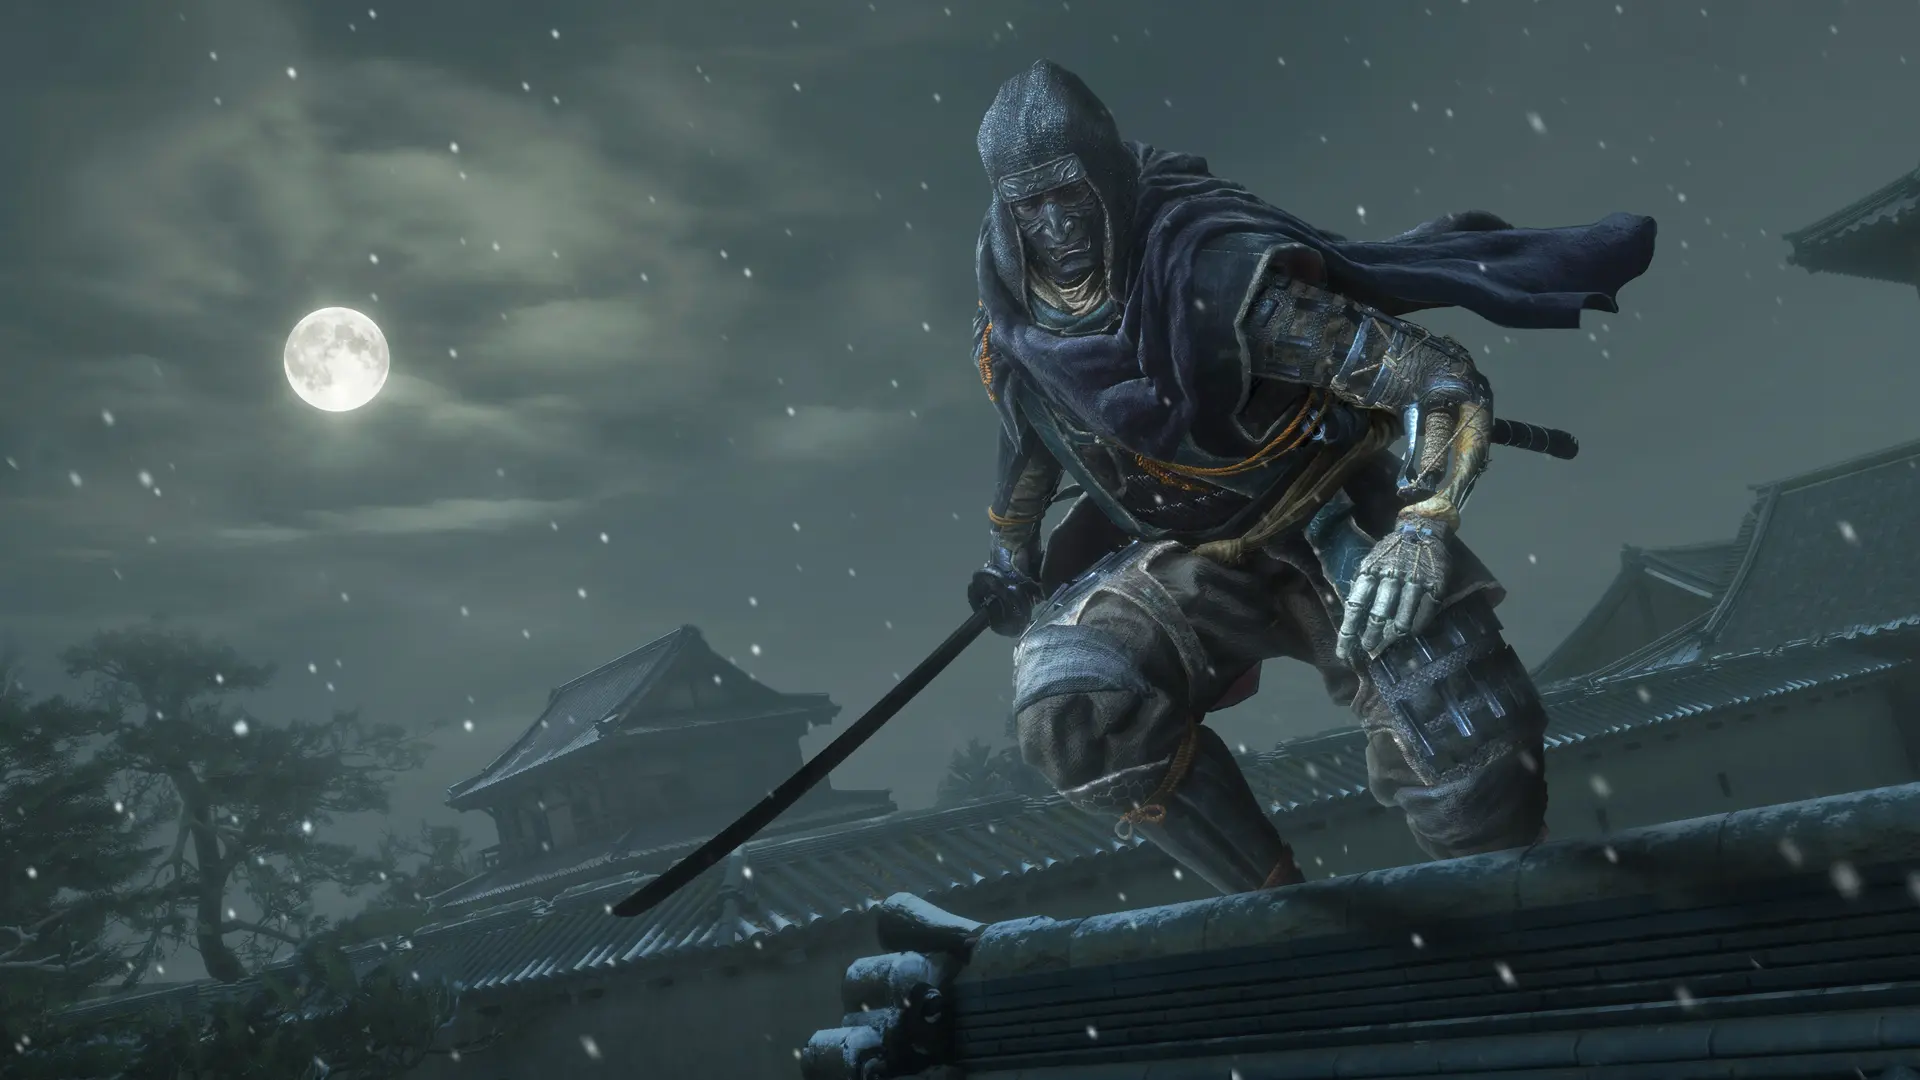
This game has four kinds of growth resources, and their sources and uses do not overlap. Once you understand that, you stop ending up with a hoard of materials while stuck behind some threshold.
Overview of the Four Resources#
| Resource | Source | Use | Scarcity |
|---|---|---|---|
| Attribute points | Main story progress, defeating elite enemies, completing zone side content | Raises Strength, Vitality and Bloom, and crosses skill unlock thresholds | Medium |
| Skill points | Same as above, plus zone exploration rewards | Unlocks branch nodes collectively known as Blade Arts | High |
| Reinforcement materials | Gathering, enemy drops, treasure chests, zone exploration | Equipment reinforcement and upgrades to Koo’s arts | High |
| Spirit Stones | Random drops, with better drop quality in some zones | Equipped on Emma to grant stat bonuses | Medium, but the stats are random |
One summary: attribute points are thresholds, skill points are capability, materials are power, and Spirit Stones are variance. Look after all four, but do not reorder them — cross the threshold to get the skill first, then talk about power.
The Weapon Reinforcement Cap#
This is the mechanic people most often lose out on: weapon reinforcement has a hard cap, and that cap cannot be pushed higher by stockpiling materials — it takes a special category of material, namely salvaged machine wreckage, to raise it.
Which leads to some clear conclusions:
- Do not sell recovered machines; they are what lifts the reinforcement cap.
- Do not grind low-tier gear to high reinforcement levels; swapping equipment mid-game wastes materials.
- Once you have a weapon you can actually use, push the set you are holding to the current cap before thinking about replacing it.
How to Slot Spirit Stones#
Emma can equip up to six Spirit Stones. The stats fall roughly into three groups:
| Stat type | What it covers | Recommendation while learning the game |
|---|---|---|
| Resource | FP gain rate, Entanglement Gauge recovery | Build around this to keep the loop turning |
| Defensive | Damage reduction, cushioning after taking hits | Slot a few to cover Emma’s fragility |
| Offensive | Critical hits, skill damage | Stack these mid to late game; survival matters more early |
The most common beginner mistake is mixing in a pile of different stats. Spirit Stone stats are random per drop, so you will not assemble an ideal set any time soon; rather than trying to cover everything, first make the FP and damage-reduction categories solid.
Also, after the update the equipment screen shows which Spirit Stone effects are currently active, so you can compare directly when swapping instead of relying on memory.
Upgrading the Cleanse Walker#
The Cleanse Walker is this game’s mobile base, and upgrading it requires materials earned through zone exploration. This thread is easy to miss, but it matters: it decides how long you can stay out in the field and what you can resupply there.
One practical habit: every time you enter a new zone, sweep the reachable side paths, camps and material nodes first, and do not just walk the main story. Following only the quest markers is how you reach the late game and find yourself short on both materials and gear.
Bond Level#
Beyond Koo’s arts, there is also a bond line to raise. It costs very little — interacting, fighting together and returning to camp regularly all push it along — and it pays back real gains in how well the two of you work together. It is the best value investment in this game.
Recommended Attribute Allocation Pace#
| Stage | Allocation principle |
|---|---|
| Early | Push all three evenly to the first threshold and pick up the basic skills |
| Mid | Tilt toward the build you have chosen; start investing in the main offensive attribute once gear takes shape |
| Late | Fine-tune around Entanglement Gauge use and survival headroom rather than chasing maximum numbers |
New Game Plus and Platinum#
This game has a carryover-style New Game Plus. In terms of completion, the common experience is roughly thirty hours for the main story, with Platinum taking two runs; the good news is that there are no strict missables, so whatever you skipped in the first run can be picked up in the second.
If you only plan to go through once, every recommendation above about not selling machine wreckage and looking after Koo’s bond still applies.
Related Pages#
| What you want | Where to go |
|---|---|
| Which skills to take specifically | Skills and Allocation |
| What to wear and which build to run | Builds and Playstyles |
| What each material and item is | Materials and Items |
| Collectibles and the Platinum route | Collectibles and Secrets |
Common Resource Allocation Problems#
| Problem | Symptom | Fix |
|---|---|---|
| Attributes invested but nothing dies | Everything dumped into Strength, skills left locked | Spend points on crossing skill thresholds |
| Plenty of materials, no reinforcement | Stuck at the reinforcement cap | Track down the special materials that raise the cap |
| Spirit Stones slotted but no effect | Conflicting stats, or all offensive | Switch to resource and damage-reduction types as the core |
| Koo falls behind | All materials went to Emma | Give Koo at least one control art and one damage art |
| Big material shortage late | Only walked the main roads early | Sweep side paths and gathering nodes in every new zone |
Per-Zone Resource Checklist#
| Order | Check |
|---|---|
| 1 | Have attribute points crossed the next skill threshold |
| 2 | Has gear reached the current reinforcement cap |
| 3 | Is at least one resource-type Spirit Stone slotted |
| 4 | Does Koo have one control art and one damage art |
| 5 | Are seeds planted and harvested at the base |
| 6 | Is the zone’s side content cleared |
When You Can Stop#
Growth systems make it very tempting to hoard just a little more. A practical test is this:
| Signal | Meaning |
|---|---|
| You can reliably beat the current zone’s boss | Move on to the next zone; there is no need to grind everything out |
| Move proficiency is not improving | More grinding will not help; the problem is execution |
| Materials are piling up with nowhere to spend them | You are capped by the limit, not by quantity |
In other words, when gains start coming only from numbers and no longer from new capabilities, it is time to move forward.
This page was last updated on 2026-09-24.