Areas and Chapters#
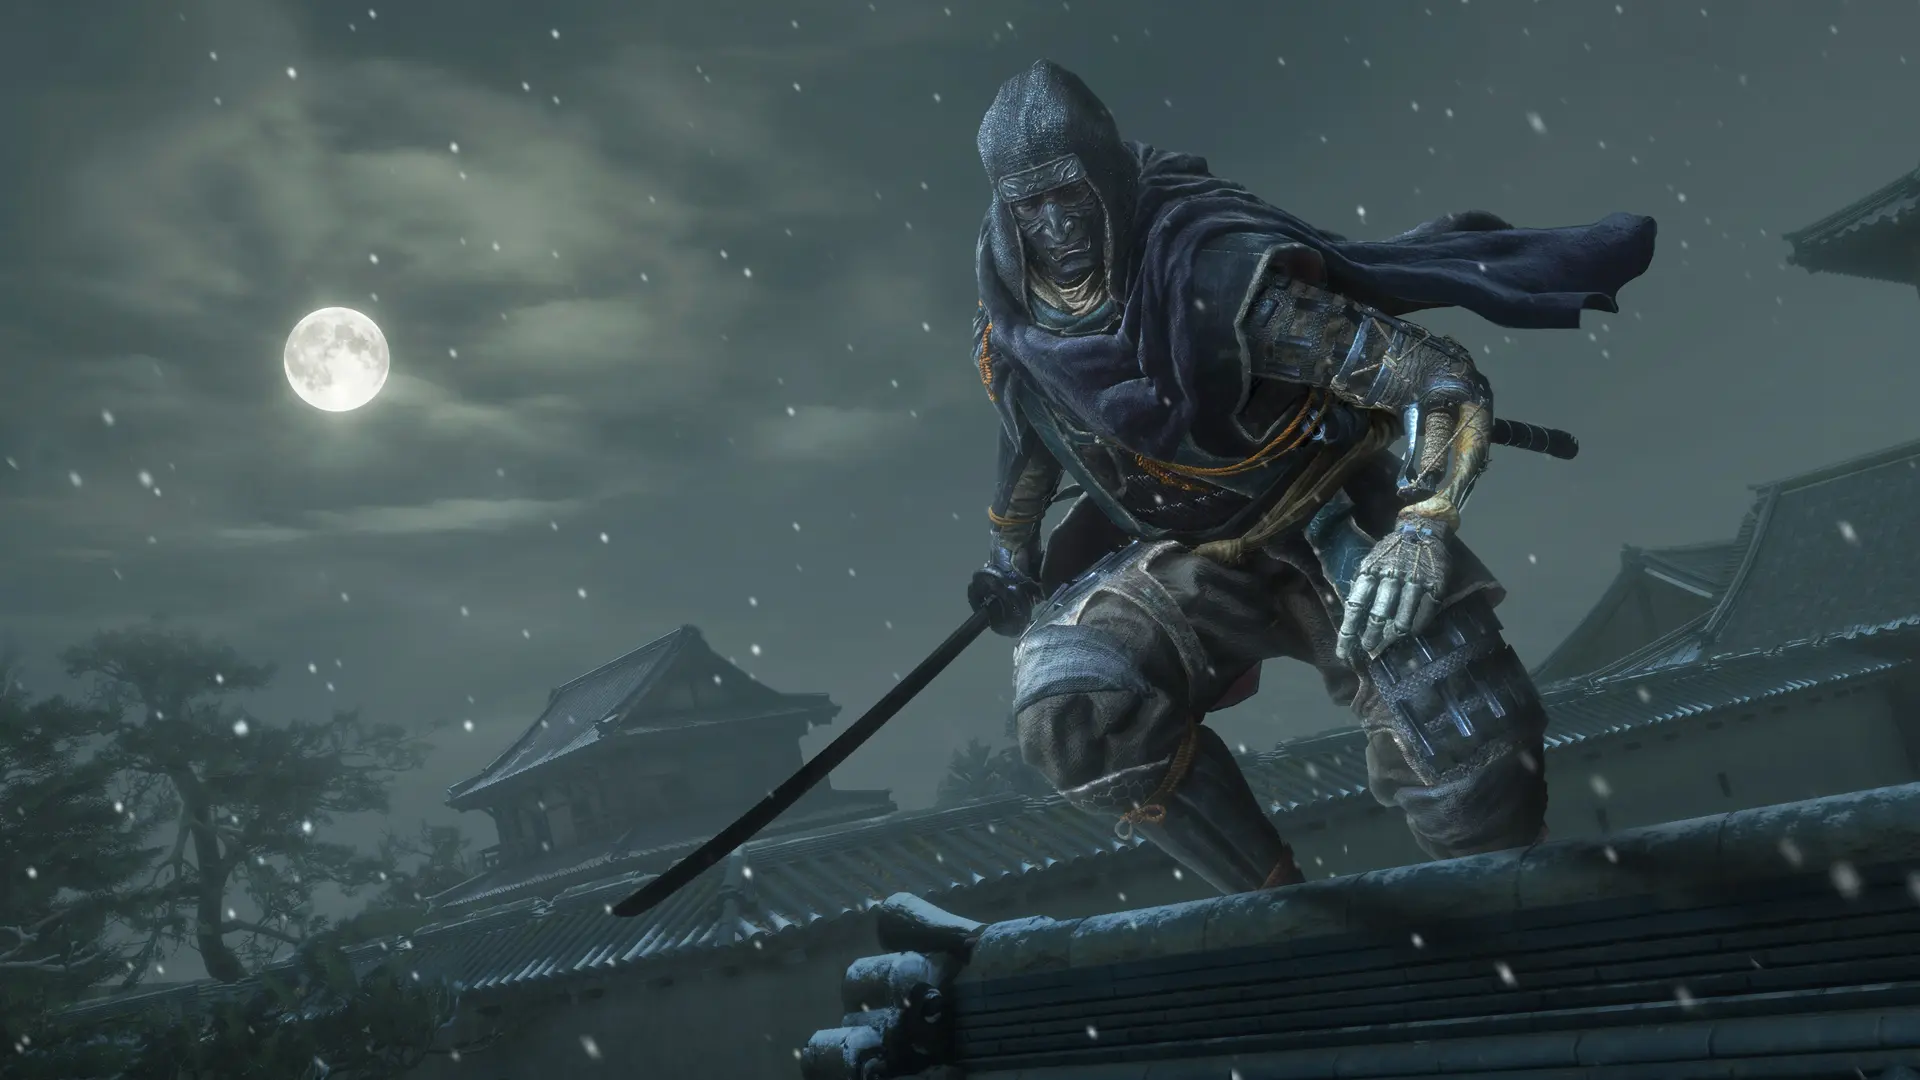
The map here is organized by chapter: every chapter has one main zone paired with one or more bosses, and you can fast travel back between chapters. The upside of this structure is a clean sense of pacing; the cost is that once you only follow quest markers, it is very easy to miss an entire stretch of side path.
Zone Overview#
| Zone | Traits |
|---|---|
| Prologue | Tutorial area. Nearly every mechanic explanation is concentrated here, and it is worth walking slowly |
| Ogouchi Buffer Zone | Chapter 1 zone. The border between the abandoned village and the blighted forest, with noticeably uneven terrain |
| Ancient Civilization Zone | Ruins of artificial structures overrun by vegetation, with far more vertical space |
| Great Wall Terraces | Stepped terrain; wide sightlines, but also easy to get exposed |
| Pilgrim’s Zone | Mid-game hub zone, with caves and stone chambers threaded through it |
| Matsukawa Zone | Woodland interlaced with river channels; note that water cannot serve as an escape route |
| Fuji Frontier Zone | Mid-game high-intensity zone with a heavy density of elite enemies |
| Giant Tree Zone | Built around enormous plant structures, with winding paths |
| Crater Zone | High-level zone with better drop quality |
| Inukami River Zone | Water-based; you need the Braid to get past obstacles |
| Starfall Tower | Vertical structure; push upward |
| Mount Hiei Zone | The zone right before the endgame, with dense enemy placement |
| The Capital | The final chapter’s zone, and the sharpest tonal contrast with the early game |
Exploration Tool: the Braid#
Emma’s braid is not just a bit of character design; it is the main exploration tool. It can stretch out into a bridge or a climbing structure to cross ravines or skip a stretch of road you would rather not fight through, and it can also lift you to high ground so you can open a fight with ranged attacks first.
Because of that, a lot of places in a zone that look impassable actually are passable. The test is simple: if there is something, a marker, or something that looks like a path on the other side, first try whether the Braid can bridge it.
Gathering and Materials#
| Gatherable | What it feeds into |
|---|---|
| Reinforcement materials | Equipment reinforcement and upgrades to Koo’s arts |
| Seeds | Carry them back and plant them at the Cleanse Walker to produce edible crops |
| Dragon Vein Shrine related | Resupply and Stimpack acquisition |
| Material nodes | Some zones have harvestable glowing plants and Amber nodes |
One lesson: every time you enter a new zone, sweep the side paths before pushing the main story. Reinforcement material shortages later on almost always come from walking only the main roads early.
Three Easy Pitfalls#
| Pitfall | Detail |
|---|---|
| Treating water as an escape route | Emma cannot swim; entering water bounces her back to the bank, while enemies wait for you where they stand |
| Assuming you can return to old zones whenever you like | The official line on whether you can go back has been inconsistent, so the safe play is to clear everything while you are there |
| Only following quest markers | Camps, materials and collectibles tucked into side paths will never walk up to you on their own |
One addition on the second point: the game really does offer fast travel, so going back is possible in theory. But since the developers have contradicted themselves, the safest way to play is still this: treat the side content and collectibles of the current zone as irreversible.
Fast Travel and Routes#
Switching chapters unlocks warp points back to older zones. That means:
- If you cannot beat a boss, you can go back, gain levels and top up your gear, then return later.
- Camps you skipped are still available once you come back for them.
- Some main-story segments were shortened after updates (Pilgrim’s Zone now goes straight to the Bell Tower without detouring through caves and stone chambers), so routes are cleaner than they were at launch.
Version Change Notes#
There was a batch of post-launch adjustments directly tied to the zone experience: early main-story routes gained extra objective markers for clearer navigation; Emma no longer takes damage from falling or partial immersion in water; one battle set in the Fuji Frontier Zone was turned into a scripted sequence; enemy placement in some zones was rearranged; the main story in Pilgrim’s Zone was shortened; and the default setting for auto-lock related options was changed to off.
These changes all point to the same conclusion: the launch complaints about unclear navigation and a dragging pace were systematically dealt with in later versions. See Version Updates for the full list.
Related Pages#
| What you want | Where to go |
|---|---|
| Bosses in each chapter | Boss Fights |
| Quests and side content in a zone | Quests and Side Quests |
| Camps and supply points | Camps and Supplies |
Chapter-to-Zone Cross-Reference#
Putting each chapter’s zone and bosses side by side makes the pacing much easier to read.
| Chapter | Zone | Bosses in that chapter |
|---|---|---|
| Prologue | Tutorial area | None |
| Chapter 1 | Ogouchi Buffer Zone | Rangifer, Nue Malefact |
| Chapter 2 | Around the Ancient Civilization Zone | Lacerta |
| Chapter 3 | Around the Great Wall Terraces | Nue Malefact, Male Purifier |
| Chapter 4 | Around Pilgrim’s Zone | Taurus |
| Chapter 5 | Matsukawa Zone | Rangifer |
| Chapter 6 | Fuji Frontier Zone | Nue Malefact, Shidou |
| Chapter 7 | Giant Tree Zone | Corvus |
| Chapter 8 | Crater Zone | Taurus |
| Chapter 9 | Inukami River Zone | Crimson Malefact |
| Chapter 10 | Starfall Tower | Ursa |
| Chapter 11 | Mount Hiei Zone | Nue Malefact, Shidou |
| Chapter 12 | The Capital outskirts | Erymanth, Kunai and Kirin |
| Chapter 13 | Final chapter area | Final battle |
Chapters and zones do not always line up one to one, and some zones stretch across two chapters. So the more useful habit is this: remember which bosses each chapter has, rather than memorizing place names.
Zone Progression Checklist#
Every time you enter a new zone, run through this order and you will rarely leave problems behind.
| Order | Task |
|---|---|
| 1 | Find and activate the first camp in the zone |
| 2 | Push along the main road and light up every camp you pass |
| 3 | Sweep back over the side paths for collectibles and material nodes |
| 4 | Clear the zone’s side content |
| 5 | Confirm gear is reinforced up to the current cap |
| 6 | Only then take on the zone’s boss |
The value of this order is that it solves three problems in advance — respawn points too far away, not enough materials, side content piling up — instead of discovering them when a boss stops you dead.
This page was last updated on 2026-09-24.