Tears of the Kingdom — Shrines and Blessing Light Trading#
Shrines are the single spine of power growth in The Legend of Zelda: Tears of the Kingdom. Clear a shrine’s challenge, receive a blessing light, and trade four blessing lights for one Heart Container or one Stamina Vessel — more maximum health or more maximum stamina. This page covers both halves: how to work through a shrine (the solving routine), and how to spend what shrines pay out (the trading strategy).
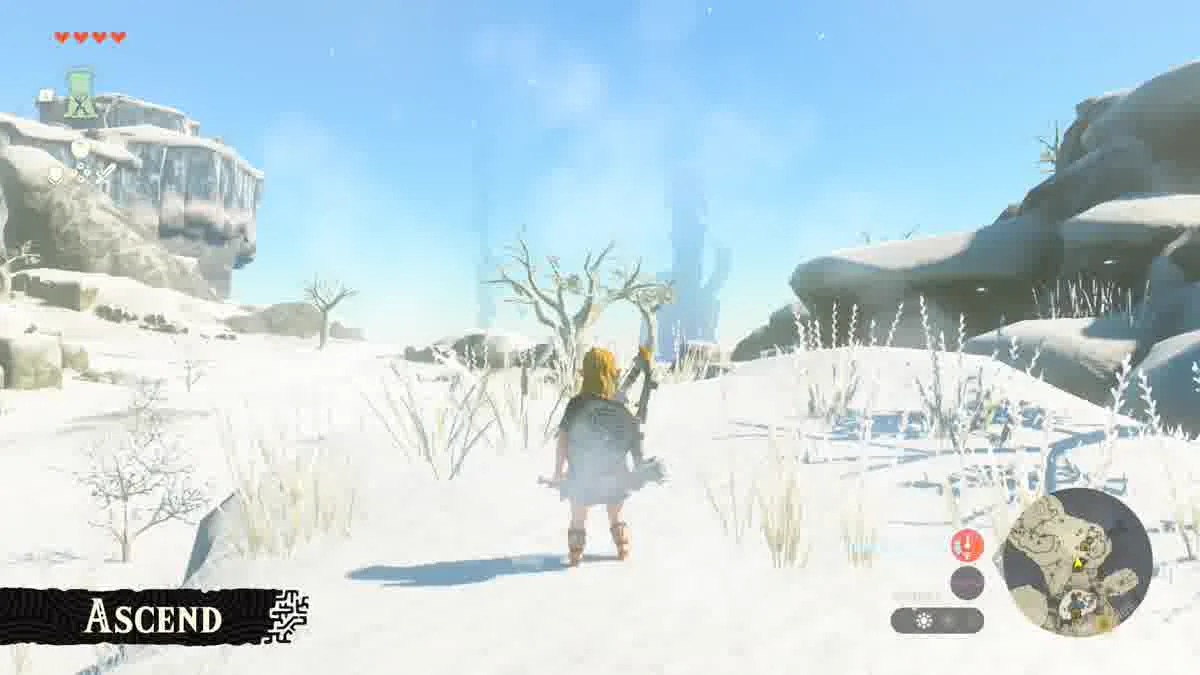
What the Shrine System Is#
| Attribute | Detail |
|---|---|
| Output | Blessing lights |
| Trade rate | 4 blessing lights = 1 Heart Container or 1 Stamina Vessel |
| Heart Container | Raises maximum health |
| Stamina Vessel | Raises maximum stamina |
| Growth role | The irreplaceable backbone of power growth |
No second path mass-produces blessing lights. That single fact means: if you want a longer health bar and a taller stamina bar, shrines are the road — not optional content, but the growth curve itself. This is why “clear every shrine you see” is routine advice rather than completionist fussing.

A Solving Routine That Works in Every Shrine#
Every shrine’s puzzle differs, so this page spoils none — it gives a four-step routine valid everywhere:
Step one: look before moving. On entry, take in the whole room — exit, mechanisms, interactable objects. Shrine clues here sit deliberately in plain sight; half a minute of observation usually beats ten minutes of blind trial.
Step two: name the challenge type. Mechanism puzzle, combat encounter, or movement test? The type sets your preparation: puzzles want patient observation, combat wants gear in working order (see the durability guide), movement wants stamina headroom (see the stamina page, ZH).
Step three: iterate in small steps. Trial cost in these shrines is near zero — failure restarts nothing. Treat trying as part of the solution procedure, not as failing.
Step four: take it and leave. Light collected, shrine complete, its job done. Do not linger; the time that matters is spent moving toward the next one.
The value of the routine is that it turns shrines into an assembly line: observe → classify → iterate → collect. Run the four steps deliberately for your first few shrines and a stable rhythm forms by itself.
Spending: Hearts Versus Stamina#
Both vessels are good; the framework is situational rather than “always X”.
- Die often to enemy hits? Hearts — a dead Link explores nothing.
- Die to falling into water or mid-cliff stamina drain? Stamina — movement failure is also death in this game.
- Early game default: lean stamina. Movement gates exploration, and exploration gates everything else; the stamina bar also powers paraglide, climb and swim, which is most of your actual minute-to-minute play.
- Rebalance freely after. The correct ratio at twenty shrines is not the correct ratio at sixty; treat the spend as a rolling decision with one input: how did I actually die last week?
Shrines as Route Anchors#
Shrine placement rewards one planning habit: anchor outings on shrines. When heading out, make the next visible shrine your route’s endpoint, and treat everything en route — Korok puzzles, random encounters, ore spots — as side-of-route income.
Three routing rules:
- Shrine-anchored routes. Pick a shrine as the destination; harvest whatever the path offers.
- Never make a dedicated shrine run if one is already on the way — a shrine ten minutes off an empty route is a detour; a shrine at the end of a planned route is free growth.
- Batch your trades. Lights only convert in fours; four small shrines beat one heroic one on the way to a container, and the routine’s rhythm depends on repetition.
The “route-side income” principle here is the same one the Korok and depth guides use: attach every collection and clearing action to a journey you were already taking. Growth compounds when it rides along.
Hearts or Stamina: The Trade Order#
Four lights per upgrade makes every upgrade a fork, and the community’s converged default is worth stating plainly — with the reason, so you can break it knowingly.
Stamina to two or three vessels first. Stamina gates access: climbing, swimming and gliding all spend it, and every area you can’t reach is a shrine producing no lights. Upgrading stamina converts directly into more upgrades — that compounding is why “stamina first” is growth advice, not comfort advice.
Then hearts, steadily. Health gates survival, and Hyrule’s damage floor rises the deeper you go — height, guarded sites, the underground. A two-heart Link dies to mistakes a three-heart Link walks away from, and a dead Link banks zero lights.
The honest exception: players who avoid combat and verticality can ride stamina much longer; players who fight constantly should pull hearts earlier. The trade rate never changes — four lights, one vessel — so there is no wrong order, only orders that spend your playstyle’s budget differently.
Lights Are Never Wasted#
One consequence of the four-light rule deserves saying: nothing about the shrine loop is missable in the long run. Lights carry across the whole save — no cap forces an early choice, and nothing resets unspent lights. The only real waste is a shrine you never walked into, which is why this section treats routing to shrines as the same problem as solving them.
Quick Answers#
How many shrines are there, and do I need all of them? The light count is large, but the container math works in fours — you only need enough lights for the stamina or heart containers you actually want on your way through.
Lights convert one by one? No, four to a container. That grouping is the reason the “route-side income” habit matters: scattering single shrines across the map feels pointless until the fourth one lands.
Hearts or stamina from containers? Stamina first for a first playthrough — it is the only resource food cannot refund — then hearts as combat demands. The full trade-off is in the beginner roadmap.
Stuck on a shrine puzzle with no walkthrough? Try the abilities in order: Ultrahand to move things, Ascend to leave or reposition, Recall to undo motion, Fuse to change what a material is. Nearly every shrine is one of those four verbs wearing a costume.
Do upgraded hearts carry into New Game+? No — hearts and vessels reset each cycle, so a second playthrough re-earns them through the same four-light trade. The loop re-applies, which makes an early stamina investment the standard cycle-two opening as well.
Are any shrines missable? Shrines are fixed world locations — nothing locks them out, and the map’s completion tracking shows what remains. The only missable shrine is one you never route toward, which is why this page treats routing as part of solving.
Does the underground pay blessing lights too? Depth content pays in different currencies — materials and weapons rather than lights. Shrines stay the single source of upgrade lights, which keeps the loop’s economics simple.
Related#
- Beginner roadmap — where the shrine loop sits in the first hours.
- Weapon durability — keeping combat-type shrines cheap.
- Section hub — the three-layer stage and full section map.