Silent Hill f Beginner’s Guide: Ten Things to Know Before Ebisugaoka#
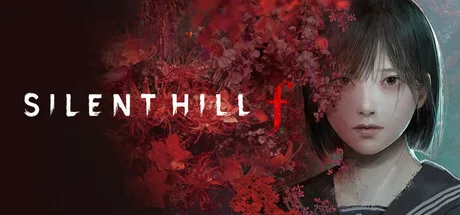
Silent Hill f moves the series to a 1960s Japanese town called Ebisugaoka, where schoolgirl Hinako Shimizu searches through fog for her missing family. There are no firearms and no flashlight: what you hold is a steel pipe or a kitchen knife, and brute-forcing your way through gets you killed quickly. This page collects the ten facts worth knowing before your first steps, so you spend fewer runs on repeated trial and error.
The Ten Things, Quick Reference#
| Item | Core point |
|---|---|
| Pure melee | Guns and flashlight removed; light attack, heavy attack, dodge and counter are everything |
| Three meters | Health, stamina and sanity drain simultaneously — any one bottoming out hurts |
| Weapon durability | Three stages; at zero the weapon shatters and disappears. A backup weapon is mandatory |
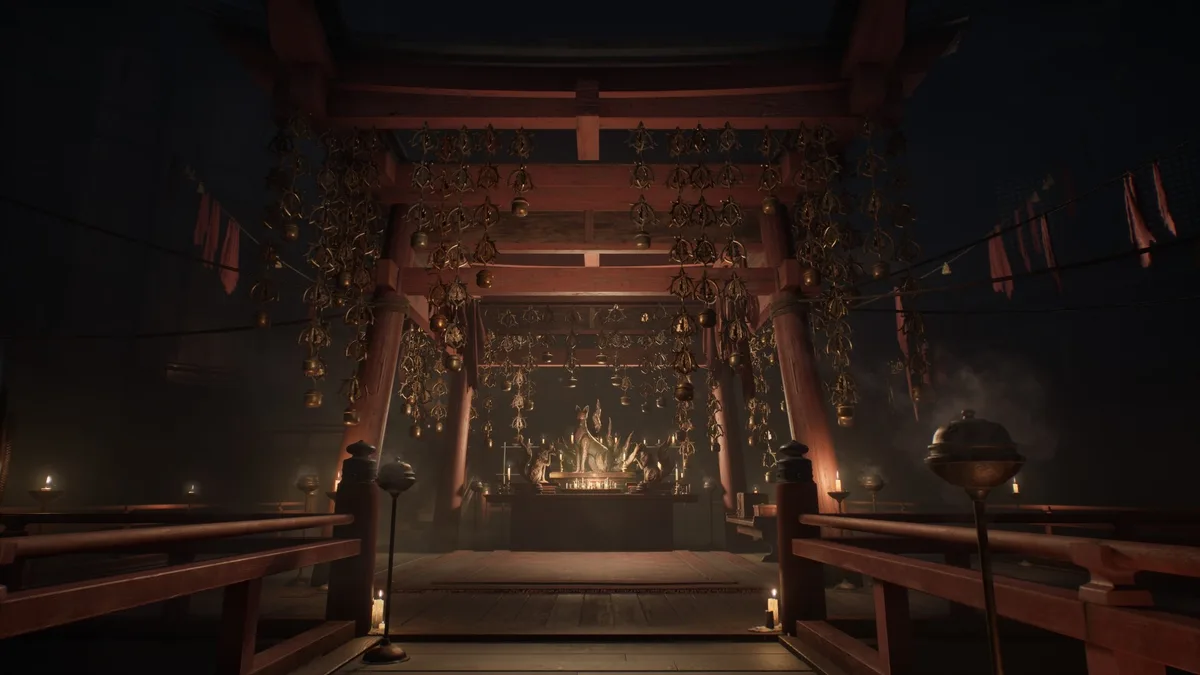
| Shrine saves | Hokora shrines save, convert offerings into Faith, and swap costumes |
| Perfect dodge | Dodging on the frame of impact refunds stamina; mashing drains it |
| Faith growth | Enemies give no XP; offerings at shrines are the only growth |
| Three costumes | Navy sailor uniform, white sailor uniform, pink bunny suit — cosmetic only |
| Sprint | Press L3 on gamepad to run |
| Casual mode | Late-2025 patch: lower enemy damage, faster stamina recovery, fewer encounters |
| Ending lock | The moment you enter the Shimizu house, this playthrough’s ending is locked |
Pure Melee and the Three Meters#
The worst expectation a series veteran can bring is that a gun shows up later. It does not. From the first minute to the last, combat is close-quarters, built on four verbs: light attacks are fast with small recovery, good for probing and finishing but weak per hit; heavy attacks wind up slowly but stagger enemies, at higher stamina cost; dodges create distance and pay off enormously with precise timing; counters deflect incoming hits and are the key answer to tough enemies.
Three meters run beside the verbs, and all three need attention:
| Meter | Role | What going empty feels like | Main related mechanics |
|---|---|---|---|
| Health | Damage buffer; zero ends the fight | Reload or walk back to a shrine | Crow charm, healing items |
| Stamina | Pays for attacks, dodges, sprinting | Cannot attack or evade | Perfect dodge, focus gauge |
| Sanity | Mental response to horror and combat strain | Vision and judgment degrade | Hound charm, shrine recovery |
Durability, Backup Weapons and the Shrine Economy#
Weapons are this game’s scarcest resource. Every hit and block spends durability, which passes through three stages; at zero the weapon breaks and vanishes from inventory. The game will not let you fight bare-handed, so carrying one or two backups is a hard requirement, not advice.
Repair toolkits restore roughly half durability but only work on intact weapons — a shattered weapon is gone for good. Toolkits are rare; spend them on the weapon you actually rely on, never on disposable pickups.
For growth, remember: kills pay nothing. Enemies drop no XP, and pointless fights only spend health, healing items and durability. Real growth is Faith — carry items to shrines to convert them, then spend ema plaques plus faith on attributes or charm slots. Shrines also save, roll random charms, swap costumes and hand out version bonuses. Common offering values:
| Offering | Faith gained | Note |
|---|---|---|
| Arare (rice crackers) | 10 | Common grocery |
| Ramune soda | 20 | Common grocery |
| Yokan | 30 | Common grocery |
| Divine Water | 50 | Story-linked item |
| Grilled rice cake | 80 | Sits at chocolate’s tier |
| Kudzu tea | 100 | Mid-tier return |
| Inari sushi | 150 | High-tier return |
| Dried carcass | 200 | Pure offering |
| Antique comb | 300 | Pure offering |
Feel: Perfect Dodges Pay You Back#
The single biggest beginner tax is treating dodge as a panic button:
- Dodging at the exact frame of impact triggers a perfect dodge: no stamina spent, stamina refunded instead.
- Mashing dodge empties the bar fast, leaving you unable to evade or attack.
- The Lily of the Valley charm, found in the fifth town district, widens the perfect-dodge window.
- Reach for a heavy weapon only with stamina to spare — one whiffed swing can leave you empty.
“Press less, press precisely” improves survival more than any charm.
Difficulty, Costumes and Sprint#
Three starting costumes are selectable, and they are purely cosmetic — pick by taste:
| Costume | How to obtain | Note |
|---|---|---|
| Navy sailor uniform | Default choice | Hinako’s standard school-uniform look |
| White sailor uniform | Pre-order bonus | All-white clean variant |
| Pink bunny suit | Deluxe edition or post-launch upgrade pack | Series-tradition joke outfit |
Movement note: L3 sprints, which saves real time crossing districts.
On difficulty, the late-2025 patch added Casual Mode: sharply reduced enemy damage, faster stamina recovery, fewer encounters. After three deaths on higher difficulties the game offers to enable it, but once chosen you cannot raise the difficulty mid-run. Friendly door for story players — just know it changes combat rhythm.
The Ending Lock and Save Habits#
Five endings exist, decided by choices and puzzles across the whole game rather than one final prompt. The hard rule for new players: the moment you enter the Shimizu house, the playthrough’s ending locks, and any missed offering or puzzle condition cannot be recovered.
Two habits follow. First, make a dedicated manual save before every major decision — especially before entering the Shimizu house and before starting NG+. Second, track ending-related conditions as route objectives during the run instead of planning to backfill later. If you are chasing multiple endings, reading conditions in advance beats blind progression — see the endings guide.
Next Steps#
- Bosses guide — all nine named fights and what Ara-abare actually wants from you.
- Endings guide — the five endings and the lock rule in full.
- Silent Hill f Chinese hub — the 24-page tree covering combat math, weapons, charms, ema routes and story analysis.