Pokémon Legends: Z-A Team Building: The Four-Role Six-Slot Framework#
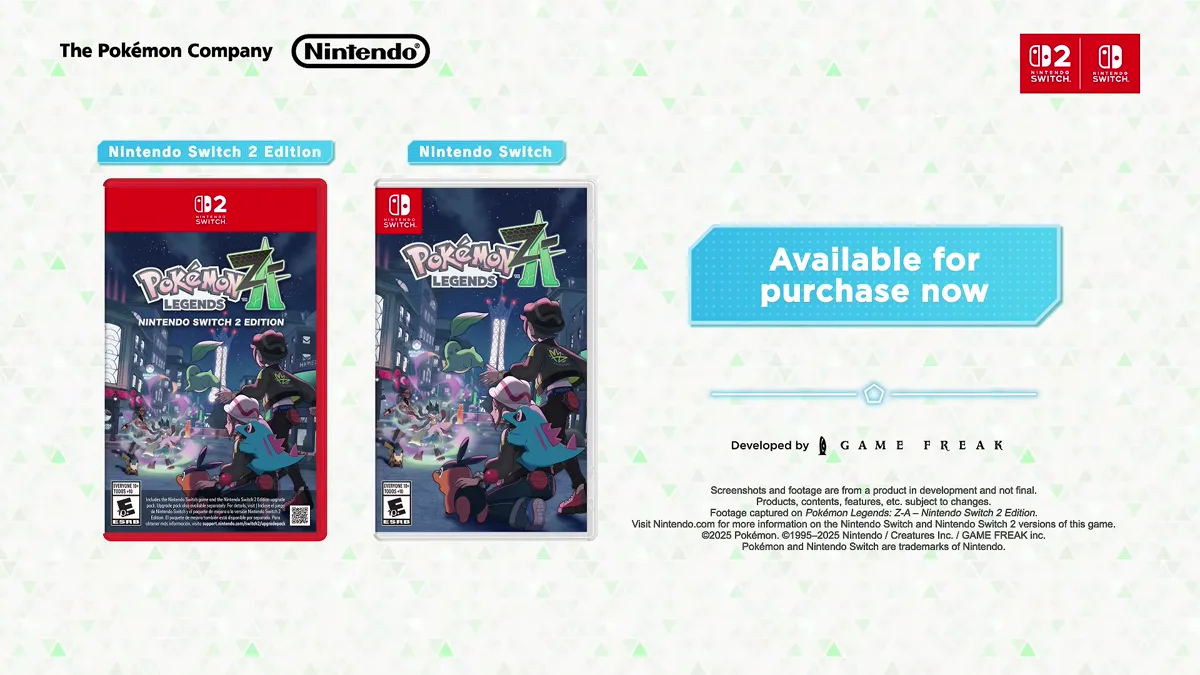
After all the systems pages comes the practical one: who do you train, and who rides with you. But first, the necessary caveat. Z-A removed Abilities and breeding; Pokémon are defined purely by moves, stats, and typing, and any party slot can be rebuilt by catching a replacement. That structure makes “definitive best team” rankings literally meaningless — so this page gives you a derivable framework instead: fill the roles, run the matrix, and diagnose losses by symptom.
Why Six Members Are Not Six Attackers#
Your six walkable party members swap live during battle, which means the party is really two shared resources: a parallel cooldown pool and a typing coverage deck. Two iron rules follow:
- Type spread beats individual strength. Six strong same-type picks fight like one strong pick plus five cooldown batteries. Six type-complementary middlings can always answer with a resistance.
- Spread your Mega Stones. Stones attach to individuals (see Mega guide); if only one Pokémon can Mega, a single bad matchup softlocks your ceiling. Carry at least two.
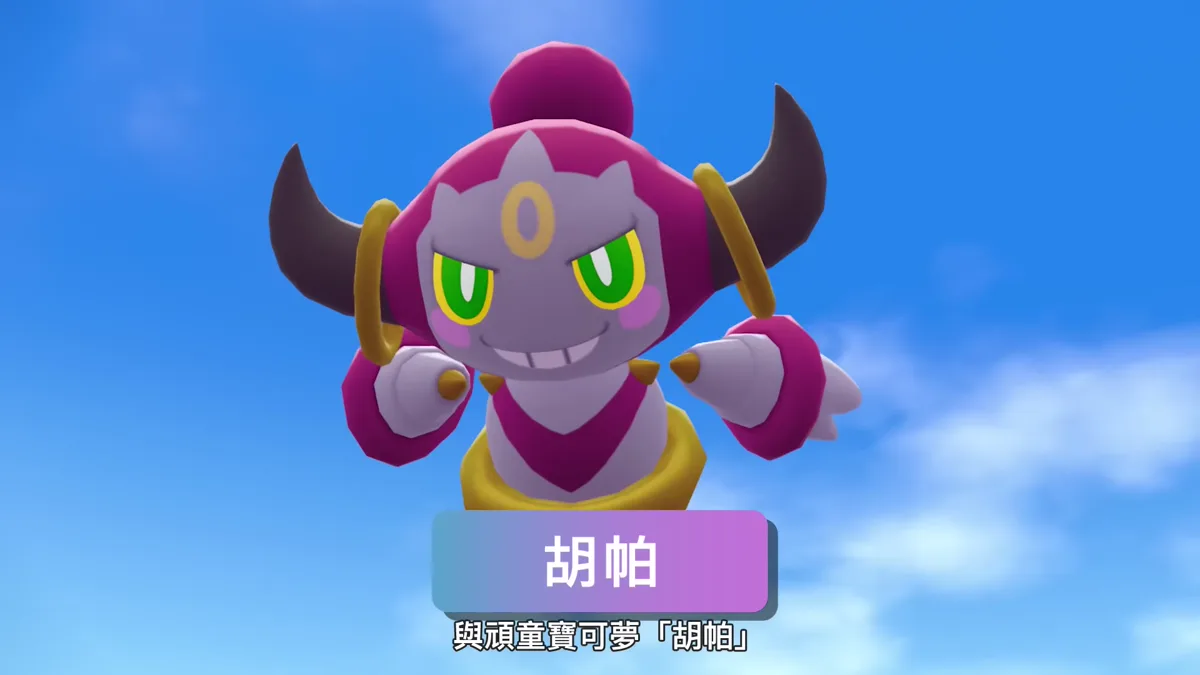
The Four Roles#
| Role | Count | Job | Selection standard |
|---|---|---|---|
| Attacker | 1-2 | Baseline damage engine | Broad typing, smooth move cooldowns, preferably a Stone |
| Counter | 2-3 | Answers what the attacker can’t beat | Typing offset from the attacker, covers its weaknesses |
| Flex | 1-2 | Swap-in to reset tempo, absorb bad matchups | Immunity typing (e.g., Ground immune to Electric) is gold |
| Specialist | 0-1 | Boss raids and Battle Club specific | Situational tools, not daily drivers |
Roles are not a cage — your attacker can double as a counter, your flex can be a second attacker. The roles exist for self-audit: when you lose, find the empty role and fill exactly it.
The Coverage Matrix#
Lay your six typings out and check four lines.
| Check | Pass condition |
|---|---|
| Offensive coverage | Attacker + counters together resist-punch the common threat types you actually face |
| Defensive spread | No two members share the exact same weakness bundle |
| Immunity slot | At least one member nullifies a high-frequency attacking type |
| Cooldown offset | Adjacent swap-ins have staggered move cycles so switching never creates a dead window |
Any failed line becomes a capture target — head to the wild zones and catch the missing answer. Z-A’s capture speed makes roster surgery a routine, not an ordeal. Mega form selection should follow the same logic: the Stone goes to whoever fixes a hole, not whoever is coolest, which is exactly how the pre-order Gardevoirite Ralts earns a slot.
Three Scenario Presets#
Ladder nights: open with the widest-coverage Mega holder; keep the flex member second in the swap order; rotate entry order based on which types burned you the previous evening.
Rogue Mega events and boss raids: bulk and endurance outvalue raw offense; keep at least two Stone-holders active so the charge cycle never depends on one body. Deep boss patterns are in the Chinese tree at /pokemon-legends-z-a/boss-battles/.
Battle Club multiplayer: humans punish presets, so keep one genuinely weird slot — an off-meta typing that breaks whatever counter-strategy your opponent pre-loads.
The Symptom Table#
When the ladder goes bad, diagnose before you rebuild.
| Symptom | Root cause | Fix |
|---|---|---|
| Same type keeps killing you | Defensive spread check failed | Add an immunity/resist to that type |
| Damage sputters | Cooldown offset failed | Restagger move sets or rotate flex members more |
| One faint ends the fight | Mega Stone on a single body | Exchange a second Stone onto your counter slot |
| Hits land, numbers disappoint | Offensive coverage gap | Rebuild attacker or counter moves toward resistance-breaking |
| Swap-in gets focus-fired | Bad swap timing | Never swap into an active attack animation |
Catching With a Shopping List#
Roster surgery is routine here, so treat wild-zone time like procurement, not sightseeing.
| Step | Action | Time cost |
|---|---|---|
| 1 | Name the failed matrix line from last night | Minutes, straight from the symptom table |
| 2 | Pick the one target type that fixes it | One line of notes |
| 3 | Catch the best spawn of that type you find | One encounter |
| 4 | Release or bench the weakest duplicate | Instant |
Three targeted catches a day keeps the six-slot roster honest without turning the Dex into homework.
Quick Answers#
Is there a best team? No static answer survives the removal of Abilities plus live swapping; the framework beats the list.
Alpha/strong spawns — worth the grind? High stats still lose to bad matchups. Run the matrix before chasing power levels.
How many Pokémon do I need to see before judging? Three for ladder comfort: one attacker, one counter, one flex. The remaining slots fill as the day schedule allows.
Should I keep a healing slot? No separate healer role is required in this structure; endurance comes from switch-outs and resistances rather than a dedicated support.
Should I duplicate a typing for Mega variety? No — spreading weaknesses beats stacking them, per iron rule one; variety comes from moves, not copies.
When is it too late to rebuild a team? The structure says never: every slot is catch-replaceable, so a bad roster is a late-afternoon problem, not a save-file problem.
Related#
- Mega Evolution guide — the gauge your holders feed
- Beginner’s guide — the first-week team ramp
- Hub — the four system replacements this framework assumes