Black Myth: Wukong Boss Rush Guide — Challenge Order, Recommended Builds, Speedrun Tips#
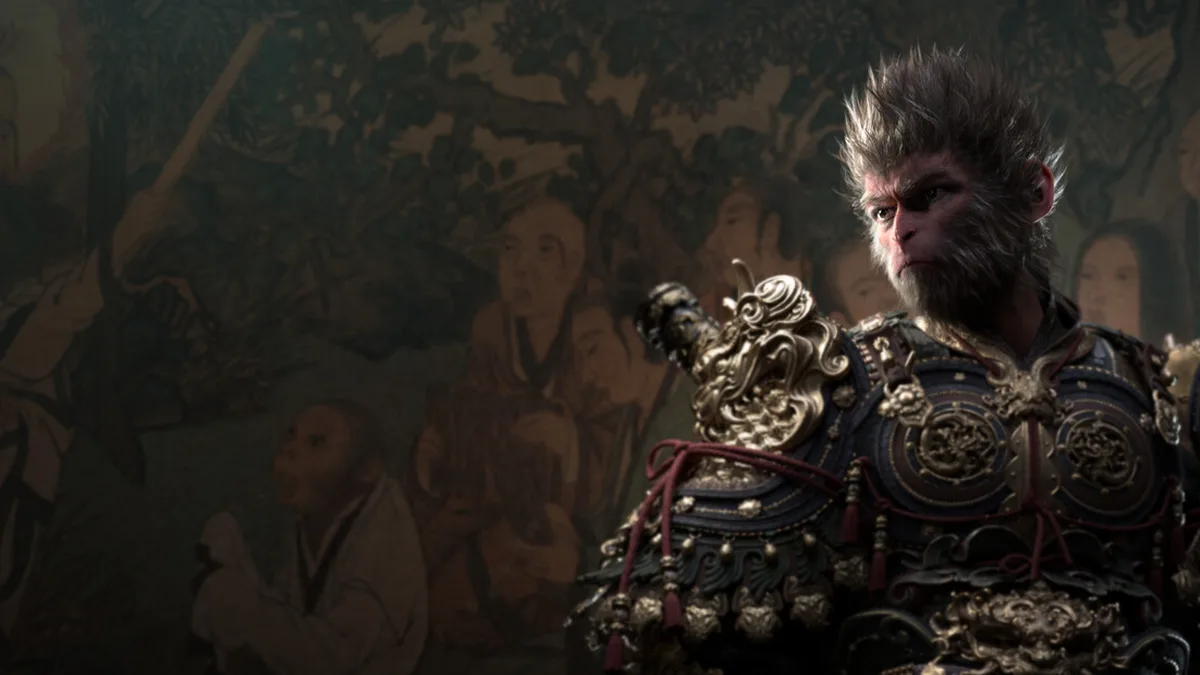
Boss Rush mode is a high-intensity continuous boss challenge in Black Myth: Wukong in which players must defeat multiple bosses in succession within a time limit. This guide covers the optimal challenge order, recommended loadouts, core strategies for each fight, and speedrun techniques.
Mode Overview#
Rush mode is unlocked after clearing the main story on the first playthrough, and can be found under the Extra Content section of the main menu. Players must defeat several rounds of bosses before the countdown ends, and every boss defeated grants a short resupply window. The mode has three difficulty tiers: Normal, Hard, and Hell. The higher the difficulty, the more bosses there are and the shorter the resupply time, but the reward multiplier is also higher.
| Difficulty | Time Limit | Number of Bosses | Resupply Time | Reward Multiplier |
|---|---|---|---|---|
| Normal | 60 minutes | 8 bosses | 30 seconds | ×1.0 |
| Hard | 45 minutes | 12 bosses | 20 seconds | ×1.5 |
| Hell | 30 minutes | 16 bosses | 10 seconds | ×2.5 |
The resupply window is the core resource of the mode: use this time first to refill medicine, swap Spirits, upgrade your weapon, and plan your opening move for the next fight. Normal difficulty gives you plenty of resupply time, so you can learn as you go; the 10-second window on Hell only allows for a single decision, so plan your approach to each fight well in advance. In addition, boss health and move strength in Rush mode are higher than in the main story, so never assume main-story habits carry over.
Recommended Challenge Order#
Boss Order on Hard Difficulty#
| Round | Boss Name | Attribute | Weakness | Recommended Strategy |
|---|---|---|---|---|
| 1 | Wandering Wight | None | Physical | Kill quickly to save time |
| 2 | Tiger Vanguard | Wind | Lightning | Dodge, then counterattack |
| 3 | Black Wind King | Dark | Light | Keep distance and attack from range |
| 4 | Stone Vanguard | Earth | Water | Focus damage after breaking its poise |
| 5 | Yellow Wind Sage | Wind | Fire | Watch out for the sandstorm in phase three |
| 6 | Kang-Jin Loong | Lightning | Dark | Use invincibility frames to evade the breath |
| 7 | Yaksha King | Fire | Water | Stay away from the flaming ground areas |
| 8 | Zi Zhu’er | Poison | Fire | Cleanse the poison debuff |
| 9 | Red Boy | Fire | Frost | Use Transformation to tank the damage |
| 10 | The Scorpionlord | Poison | Lightning | Cure poison quickly to keep up damage |
| 11 | Four Heavenly Kings | Mixed | Physical | Kill them separately to reduce pressure |
| 12 | Erlang Shen | Mixed | No obvious weakness | Go all out and hold nothing back |
The overall logic behind the order is “fast early, steady late”: bosses in the first rounds have low health and are suited to burst builds for quick kills; bosses in the middle rounds start introducing attributes and status ailments, so save enough medicine; the last rounds are pure wars of attrition that test your overall loadout and resource management. The order differs on Normal difficulty, where the first 8 rounds are noticeably easier, making them good practice.
Difficulty Differences#
The gaps between the three difficulties are not just numerical - the boss lineups differ as well. Normal difficulty centers on bosses from the earlier part of the main story, Hard begins mixing in powerful late-game bosses, and Hell features almost nothing but high-intensity bosses, with some bosses appearing twice in a row.
| Difficulty | Boss Types Featured | Status Ailment Frequency | Recommended Clear Strategy |
|---|---|---|---|
| Normal | Mostly early bosses | Low | Normal damage output is enough |
| Hard | Mixed early and late | Medium | Watch cleansing and positioning |
| Hell | All late-game, high intensity | Extremely high | Survival first, advance steadily |
Hell difficulty also introduces a Consecutive Challenge mechanic, where certain rounds require you to defeat two bosses in a row with no resupply in between, so make sure you have plenty of resources before the start.
Recommended Loadouts#
Rush mode places extremely high demands on a loadout’s sustained combat ability; a single burst cannot solve every problem. Below are three proven, efficient loadout setups.
Build 1: Balanced Damage#
| Equipment Slot | Recommended Equipment | Core Attribute |
|---|---|---|
| Weapon | Destined Staff | Attack 510 |
| Head | Equal-Heaven Crown | Critical Damage +20% |
| Body | Chaos Battlerobe | Damage Reduction +15% |
| Curio 1 | Enlightenment Bead | Spirit Recovery +15% |
| Curio 2 | Acala Seal | Control Resistance +30% |
| Spirit | Wandering Wight | Heals on attack |
Core Spell Setup
Recommended spells are Immobilize, Guangzhi, and Somersault Cloud. Immobilize is used to interrupt high-threat combos, Guangzhi provides steady sustained damage, and Somersault Cloud is used for quick repositioning to dodge area attacks. This combination covers both offense and defense and suits the whole run on Hard difficulty.
Build 2: Maximum Burst#
| Equipment Slot | Recommended Equipment | Core Attribute |
|---|---|---|
| Weapon | Hunyuan Gold-Banded Staff | Critical Rate +15% |
| Head | Shura Mask | Critical Rate +12% |
| Body | Shura Battlerobe | Attack +30% at low health |
| Curio | Bloodthirst Bead | Attack +10% for 10 seconds after a kill |
Best Used For Normal difficulty speedruns
Stack critical rate and kill rewards to the limit, relying on fast clears to keep the damage loop going. The drawback is the lack of healing: against high-damage bosses you must rely on positioning, or you will be taken out in one wave. Only recommended once you know every boss move.
Build 3: Sustained Survival#
| Equipment Slot | Recommended Equipment | Core Attribute |
|---|---|---|
| Weapon | Shadow Staff | 5% Lifesteal |
| Body | Dragon Scale Set | Fire Resistance +40%, Water Resistance +20% |
| Curio | Blood Jade Bead | Lifesteal +10% after being hit |
| Spirit | Spirit Stone Spirit | Damage taken reduced +20% |
Best Used For Hell difficulty wars of attrition
Built around lifesteal and damage reduction, trading some damage for room to make mistakes. Hell difficulty bosses have extremely long combos, and this loadout lets you recover quickly after being hit, making it a safe pick for newcomers attempting Hell; the drawback is that clear times get noticeably longer.
Weapon Choice Advice#
| Scenario | Recommended Weapon | Reason |
|---|---|---|
| Normal difficulty speedrun | Hunyuan Gold-Banded Staff | High critical rate fits the burst rhythm |
| Hard difficulty progression | Destined Staff | Stable attack independent of crits |
| Hell difficulty war of attrition | Shadow Staff | Lifesteal keeps you going |
Detailed Boss Strategies#
Round One: Wandering Wight#
Wandering Wight is the warm-up of the mode; its moves have obvious wind-ups, making it a good opponent for testing your damage rhythm. Be sure to kill it in the shortest time possible at the start, saving the time for the high-intensity fights that follow.
| Attack Move | Damage Level | Telltale | Counter |
|---|---|---|---|
| Head Slam | High | Gathering strength with both hands over its head | Dodge sideways or jump back |
| Sweeping Attack | Medium | Arms spread | Step back, then counterattack |
| Charge | High | Low growl + stepping back | Dodge sideways out of its path |
Round Three: Black Wind King#
Black Wind King is the first boss in the mode that tests resource management. Its dark attacks have a wide range, so keep your distance at mid-range and interrupt its charging actions with light-attribute spells or Transformation. Note that it summons black wind in phase two, at which point you should move toward the edge of the arena first.
| Phase | New Move | Danger Level | Key Points |
|---|---|---|---|
| Phase One | Black Wind Claw | ★★★☆☆ | Dodge sideways, then counterattack |
| Phase Two | Summon Black Wind | ★★★★☆ | Move toward the edge of the arena |
| Phase Three | Frenzied Claw Flurry | ★★★★★ | Tank it with Transformation, then strike back |
Round Five: Yellow Wind Sage#
| Phase | New Skill | Lethality | Strategy |
|---|---|---|---|
| Phase One | Sandstorm | ★★★☆☆ | Whittle it down from range |
| Phase Two | Sand Tornado | ★★★★☆ | Keep moving |
| Phase Three | Wind Wall | ★★★★★ | Wait for an opening, then go all out |
The difficulty of Yellow Wind Sage lies in phase three, where the Wind Wall seals off most of your movement space. Do not get greedy with attacks here; use Somersault Cloud to get out of the wind wall’s range and re-enter once its casting gap opens up.
Round Six: Kang-Jin Loong#
Kang-Jin Loong is known for its lightning breath, which has an obvious head-raising motion beforehand. Use the invincibility frames of your roll to pass through the breath, then close in and attack. The lightning attribute inflicts paralysis, so be sure to finish the fight before paralysis stacks up.
| Attack Move | Damage Level | Telltale | Counter |
|---|---|---|---|
| Thundercloud Breath | Extremely High | Raising its head to charge | Roll forward with invincibility frames |
| Diving Claw Strike | High | Leaning back to charge | Dodge sideways to create distance |
| Tail Sweep | Medium | Body twisting | Jump to evade |
Round Nine: Red Boy#
Red Boy is a fire-attribute rhythm boss with fast attacks and frequent dashes. Bring a frost-attribute weapon to counter it, and save your Transformation to tank its flame burst. Note that Red Boy’s triple flame combo tracks the target, so delay your roll slightly.
| Attack Move | Damage Level | Telltale | Counter |
|---|---|---|---|
| Triple Flame Combo | High | Starting with a low growl | Delayed roll |
| Flame Dash | High | Body lowered | Dodge sideways |
| Flame Burst | Extremely High | Both palms raised | Tank it with Transformation |
Round Twelve: Erlang Shen#
Erlang Shen is the final boss of Rush mode and one of the toughest bosses in the entire game. His combos are extremely long and his damage is terrifying, but brief gaps still exist between them. Wait patiently for those gaps, dodge precisely, and in phase two use your Transformation form to eat the key hits before counterattacking.
Erlang Shen’s phase one mainly tests your basic dodging; phase two introduces the Heavenly Eye and clone attacks, so watch for the real body’s position. Phase three enters a frenzy - do not get greedy with damage there, prioritize survival, and concentrate your fire during the recovery frames when he finishes a combo.
Resupply Window and Resource Management#
| Action | Priority | Notes |
|---|---|---|
| Refill medicine | Highest | Have more than three healing potions before each fight |
| Spirit swap | High | Adjust to the next boss’s attribute |
| Weapon upgrade | Medium | Prioritize attack increases when resources allow |
| Spell recovery | Medium | Check cooldowns on key spells such as Immobilize |
| Tactics check | Low | Only before the start on Hell difficulty |
The resupply window on Hell difficulty is only 10 seconds, so start planning your counter for the next fight near the end of the current one - that way you only need to restock and can set off immediately.
Medicine and Item Loadout#
| Item | Quantity Carried | When to Use |
|---|---|---|
| Health Potion | 8 or more | Use when health drops below three-tenths |
| Spirit Potion | Around 5 | Before Immobilize or Guangzhi comes off cooldown |
| Cleansing Pill | 3 or more | Use immediately after heatstroke or poisoning |
| Attack Boost Potion | 2 | Opening of a high-health boss |
Timing your healing potions is the most important part: above three-tenths health, rely on lifesteal or Spirits to heal first and save your potions for the high-intensity bosses in the second half.
Speedrun Techniques#
The following techniques can significantly shorten clear times and suit players who care about speed.
| Technique | Time Saved | Difficulty | Applicable Stage |
|---|---|---|---|
| Opening burst | 15-20 seconds per fight | Low | Fight opening |
| Immobilize prediction | 10-30 seconds per fight | Low | The whole fight |
| Spirit swap cancel | 5-10 seconds per fight | High | Combo gaps |
| Transformation tanking | 20-40 seconds per fight | Medium | High-threat phases |
| Terrain use | 10-25 seconds per fight | Medium | Specific bosses |
| Max damage window | 15-35 seconds per fight | High | Boss stagger |
The core of speedrunning is never wasting a swing: it is better to attack fewer times than to be hit and lose your rhythm. Opening burst combined with Immobilize can take down the first third of every boss’s health quickly, relieving a lot of pressure later on. Once you reach Hell difficulty, speed and survival are hard to have both, so secure the clear first and then chase speed.
Rewards and Drops#
Rush mode offers unique rewards, including exclusive equipment and materials that cannot be obtained in other modes. Repeated playthrough challenges are the main way to farm these rewards, and some can only be obtained by completing high-difficulty ratings.
| Reward Type | Acquisition Condition | Rarity |
|---|---|---|
| Berserker Mask | Clear Hard difficulty | Epic |
| Boss Hunter title | S-rank rating on Hell difficulty | Legendary |
| Speedrun reward weapon | Clear Hard within 30 minutes | Legendary |
| No-hit reward Spirit | Clear Normal without taking damage | Epic |
| Perfect clear reward | All S ranks on Hell difficulty | Chaos |
| Quick kill achievement | Kill a boss within 30 seconds in a single fight | Achievement |
Common Causes of Failure and Fixes#
| Cause of Failure | Frequency | Solution |
|---|---|---|
| Overcommitting early and burning resources | High | Play the first rounds conservatively and save medicine |
| Wasting the resupply window | Medium | Plan your restocking order in advance |
| Failing to cleanse attribute debuffs in time | High | Carry cleansing skills and pills |
| Transformation going on cooldown too early | Medium | Use it only before lethal moves |
| Unfamiliarity with late-game combos | High | Clear Normal difficulty first to learn the patterns |
Failing is nothing to be ashamed of - Rush mode is a practice ground for trial and error by design. Treat every failure as a chance to learn the patterns, note down which round you fell in and to which move, and adjust accordingly next time.
Boss Rush and Achievements#
Rush mode is tied to multiple achievements; below is the list unlocked through this mode. Achievements are linked to difficulty ratings - clearing Normal difficulty earns you some of them, but all of them require challenging Hell difficulty.
| Achievement Name | Condition | Difficulty |
|---|---|---|
| Swift Victory | Clear Hard within 30 minutes | Hard |
| Flawless | Clear Normal without taking damage | Extremely Hard |
| Hell Walker | Clear Hell difficulty | Hard |
| Frenzied Hunter | All S ranks on Hell difficulty | Extremely Hard |
| One Hit Kill | Kill a boss in one hit in a single fight | Medium |
“One Hit Kill” looks demanding, but there is a shortcut: use a high-attack loadout combined with opening burst and Immobilize, and do it in the round where the boss has the lowest health, such as round one against Wandering Wight.
Key Points for Each Difficulty#
| Difficulty | Core Approach | Common Stumbling Block | Recommended Preparation |
|---|---|---|---|
| Normal | Learn move rhythms | Idling through the resupply window | Balanced damage loadout |
| Hard | Steady play, no overcommitting | Attribute debuffs stacking | Plenty of Cleansing Pills |
| Hell | Survival first | Transformation cooldown mistimed | Sustained survival loadout |
Normal difficulty is the practice ground, Hard difficulty is the watershed, and Hell difficulty is the finish line. Every time you cross a difficulty, your resource management improves by leaps and bounds, and that is the most compelling part of Rush mode.
Conclusion and Advice#
Rush mode is the ultimate test of a player’s overall ability. It is recommended that you first learn the move rhythm of every boss on Normal difficulty, then push on to Hard and Hell. Stay patient, manage your resources well, and use targeted strategies against each boss, and you will conquer this mode.
One more point worth stressing: the biggest enemy in Rush mode is not any single boss, but the resource pressure that builds up over consecutive fights. Treat every fight as its own battle and plan accordingly - the resupply window is your lifeline. Good luck to all Destined Ones in clearing Hell difficulty.